

STEP 1 - AUTO COLOUR
Auto Colour automatically fixes any colour cast problems to a certain level. You have Auto Level (Shft + Ctrl +L) , Auto Contrast (Alt + Shft + Ctrl + L) and Auto Colour (Sfth + Ctrl + B), I play with all these functions depending on the outcome I prefer. I normally stick with Auto Colour and Auto Levels. In this photo, I went with Auto Colour (Shft + Ctrl + B).


STEP 2 - BRIGHTNESS AND CONTRAST
I do prefer my photos to be a bit brighter and I don't always do this after the 1st step, it can also be your last final adjustments. With the slide bar, I adjust the level of exposure and contrast of the photo. The contrast brings out more colours and dark tones. I like to keep this minimal as I prefer fewer shadows so you can see product details better. For this photo, I kept brightness to 15% and contrast to 5%.

STEP 3 - HUE / SATURATION
This is the part you really adjust the tones in your photos. You can still see I do still have a slight blue/grey cast. With Hue/ Saturation (Ctrl + U) you can pinpoint what colours you want to reduce or enhance. On the tab, you can see 6 main adjustments you can make. My main problems are blue cast but if you have any other colours you want to adjust change the saturation.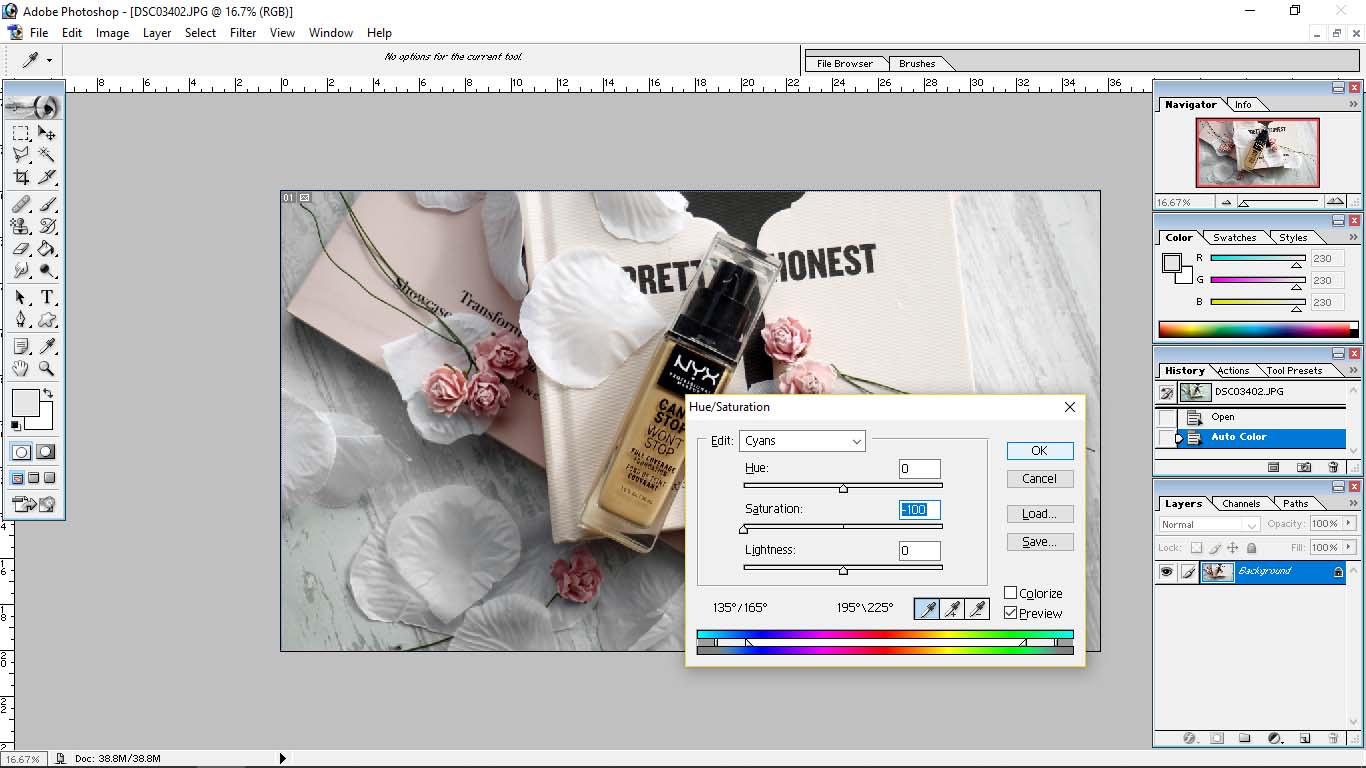
For my photo, I stick with Cyans (Ctrl + 4) and Blues (Ctrl + 5). With both Cyans and Blues I knock it both down to -100% on Saturation you can instantly see it removes all blue tones in the photo and is instantly brighter.
So here is the before and after:

This is how I normally edit my blog in 3 simple steps. I hope this has helped you guys in some way.
Joyce x
I love seeing how people edit! I usually just up the contrast, brightness and sharpness.
ReplyDeleteI edit all my photos in camera raw in Photoshop, I like to make my own presets in it! x
ReplyDeleteGemma Louise
The difference is stunning! I'm really not very good at Photoshop so I avoid it; I usually just edit my photos in VSCO or lightroom. Honestly, the less I can do to it the better! (I'm so lazy 😂). Thank you so much for sharing! X
ReplyDeleteAlicia | www.aliciabynature.co.uk
I used to use Photoshop all of the time, but since doing more professional photography I have moved over to Lightroom and absolutely swear by it! The before and after is so good - I always love seeing those :) xo
ReplyDeleteChar | www.charslittleblog.co.uk